In a world where groceries have become increasingly difficult to afford, finding ways to extend the life of fresh produce is not just practical but essential. There is no worse feeling than reaching into your fridge for the fresh herbs you bought just a few days ago, only to find that they’ve wilted or turned brown and slimy. But there’s a simple and effective solution to this problem: drying fresh herbs at home. Not only does this preservation method lock in the herbs' vibrant flavors, but it also ensures they can be savored long after their peak freshness. And, it’s a lot easier than you might think!
There are many methods of drying herbs at home, some needing additional, and often expensive, kitchen equipment. But don’t fret- you can still save your herbs without even turning on your oven. You can hang dry herbs just like flowers by tying them in bunches of roughly 6-10 sprigs, and hanging them in a cool, dark place for 1-2 weeks.
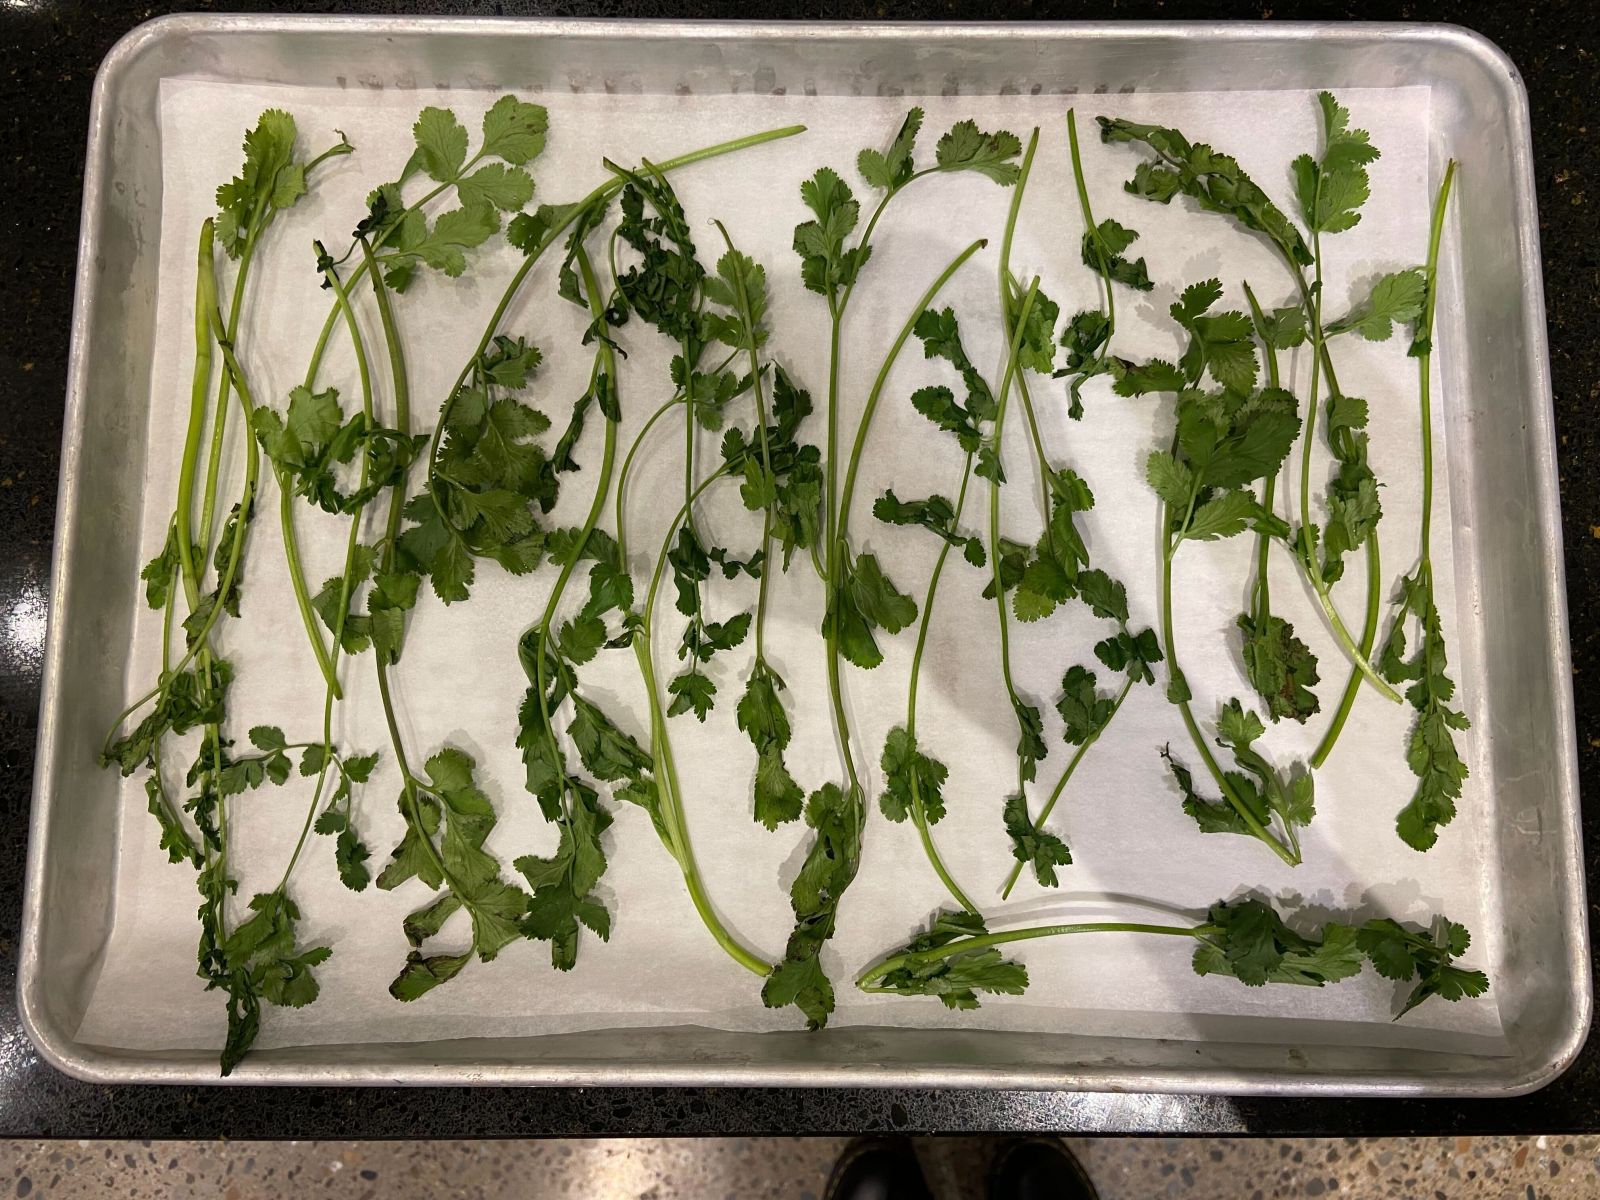
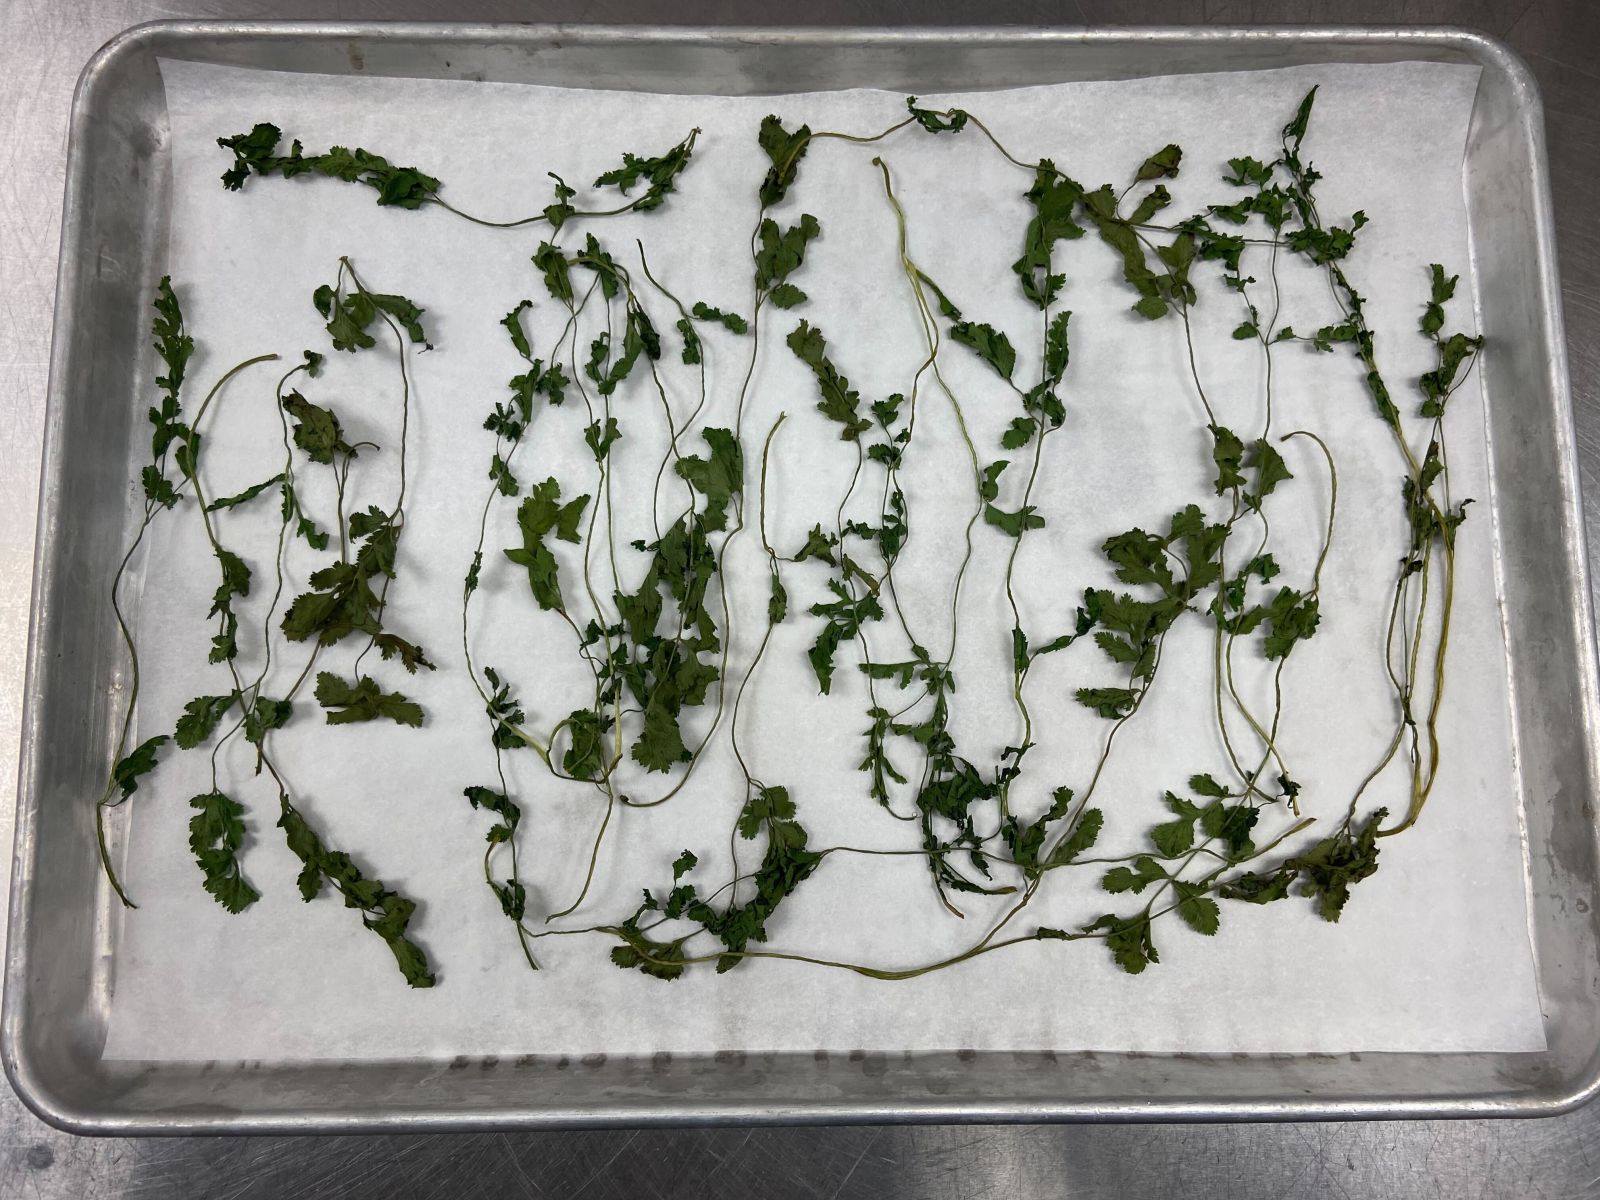
If you don’t want to wait for your herbs to hang dry, oven drying is just as simple. Set your oven to a temperature of 180°F or lower (I use 170°F). Arrange your clean, dry herbs on a lined baking sheet. It’s okay if some are touching or overlapping, as long as there is plenty of airflow. Bake for 2-4 hours, or until herbs are dry and brittle and easily break apart in your fingers. You can then chop or grind your herbs to your liking. Be sure that all leaves and stems are completely dry before packaging, as any moisture could cause mold to grow.
Regardless of how you choose to dry your herbs, don’t let the stems go to waste! These are packed with fresh flavor and nutrients that will enhance your dried leaves.
Don’t forget to check out some of our recipes for ideas on how to use your dried herbs! Dried herbs tend to be more potent than fresh herbs, so start with a small amount and add slowly to build flavor.
Author: Emily Menshew, Nutrition Education Associate